Showing posts with label how to make a playmat. Show all posts

Tuesday, 6 September 2011

Making a Playmat, a step by step guide, part nine: The Bird Square

I had some really cute yellow canvas fabric with lots of birds printed on it and I decided to cut one of the birds out to use as a motif for this square. The squeaker was an after thought and so there may be a better way to attach it… but this is how I went about it.

So for this square you will need:
A fabric square prepared in part one.
A large fabric animal/bird of your choice cut out  – you could also make an animal up using pieces of felt or other fabric.
A toy squeaker
Thread to match the animal design
A piece of fabric for the squeaker pouch (long and rectangular, depending on the size of squeaker you have)


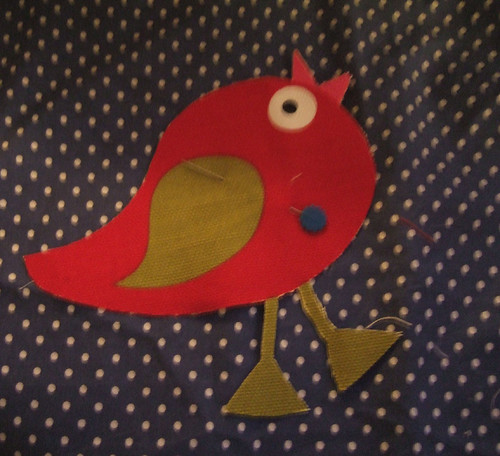
First cut out your animal picture and pin on to your square.

Bird motif pinned on

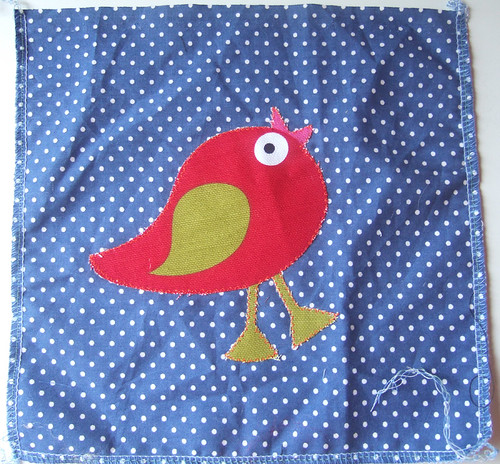
Using zig-zag stitch and a thread that goes with your creature, stitch the animal on to the square, making sure you go around all the fiddley bits. Use a tight stitch to prevent fraying. Pull off any loose threads.
Bird square

Putting a squeaker in this square was an after-thought, so I had to do it the way I’ve described, however I think it works well, as the animal doesn’t bulge out and get distorted as it might have by having the squeaker sewn directly under the bird.

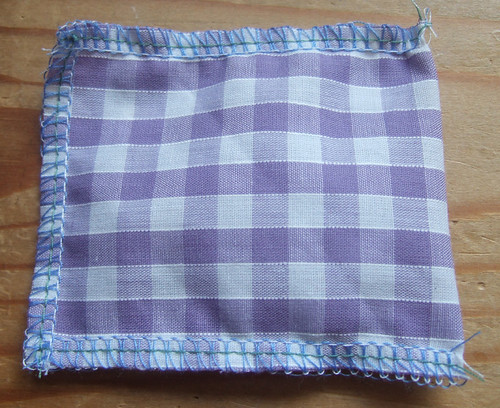
So I took my squeaker and placed it on a rectangle of fabric, that could comfortably fold over and have seam allowance.
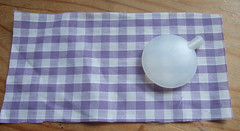
squeeker making the pouch
,

Next I used the overlocker/serger to sew it together around the three sides (the forth being folded didn’t need sewing) You could do this on the sewing machine also.

sewn pouch

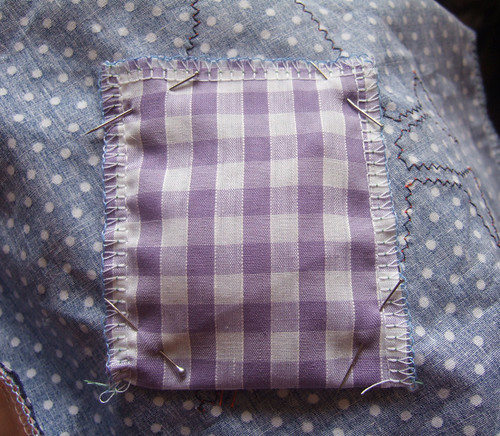
Next I positioned the pouch on the wrong side of the square, trying to make sure all the corners were under the red part of the bird as I figured the stitching would be less likely to be seen on the red.

pouch pinned to back of bird square

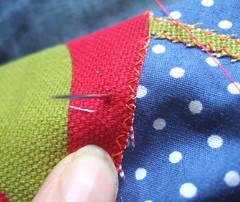
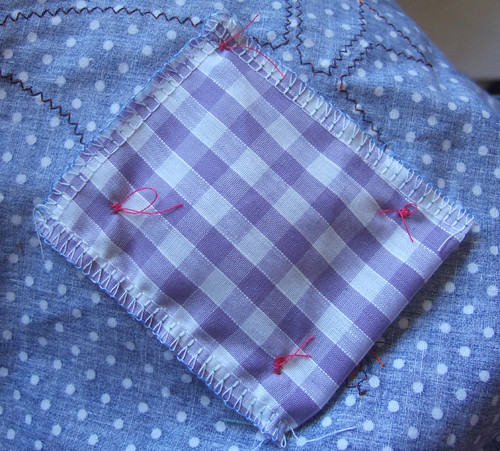
Then carefully hand stitch each corner on, being careful to keep your thread only on the area that matches it. I used red thread, so I had to avoid the green areas.
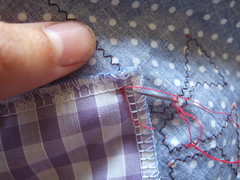
sew ing back view sewing on the squeeker pouch
Stitch the pouch on good and tight and knot well on the back – the pouch is only attatched at the corners so you'll want that stitching to be good and secure.

knots securing the pouch

Now your creature should squeak when pushed! And that is the bird square. Next time is the last square before we get on to putting the mat together.

Back to part eight

Monday, 5 September 2011

Making a Playmat, a step by step guide, part eight: The Flower Square

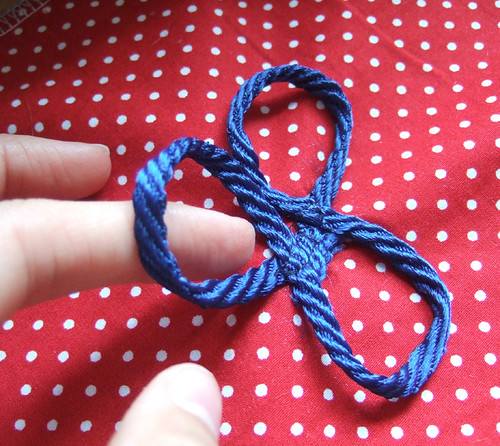
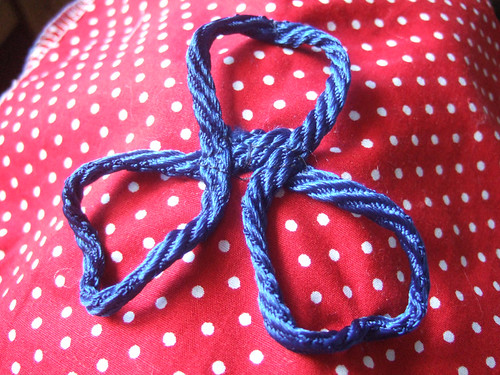
After the ‘Rattle square’ this one will seem easy! I didn’t know what to call this square, I wanted to put something on the mat that a baby could fiddle with, it could have been ribbon or wool, but I went with some ¼” blue cord. I wanted to make it into small loops, which could be fiddled with without hands getting stuck in them, and the shape I ended up with looks a little like a clover or flower - hence he 'flower square'. Anyway here’s how I did it:

For this square you will need:

One of your fabric squares prepared in step one
A length of cord
Thread that matches the cord and a needle.

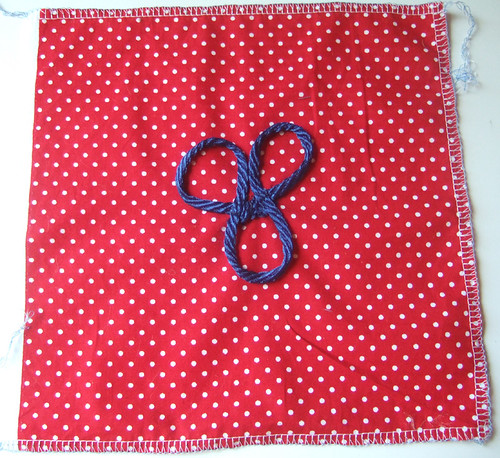
First manipulate the cord into whatever shape you’d like, making sure the ends are tucked away, I put mine into the centre of the flower, behind the criss-crossing cord. Then pin on to the centre of your square. For some reason I didn’t get a photo of this stage, but it’s fairly self-explanatory from the next picture.
Next sew the piece on, just going over the centre of the shape, making sure you’re sewing those ends down, and going back and forth a couple of times on the machine to make certain it’s on tight.

centre of flower sewn on

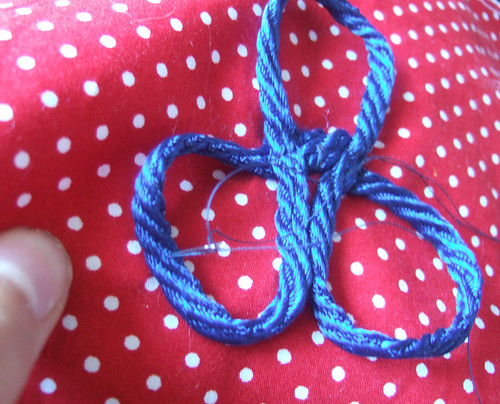
As you can see the loops are then free from the backing fabric.

Next I decided it would be safer not to leave the loops completely free as tiny hands might get caught in them. So at the top of each petal I hand stitched the peak of it down, just going over the same place a few times and knotting it at the back, see below:

sewing on the petals

As you can see, this can still be grabbed and fiddled with, but shoudn’t get hands trapped in it.

petals sewn down


square

And there you have it, the finished square. Only two more to go now, the bird square is up next : )

Back to step seven

Tuesday, 23 August 2011

Making a Playmat, a step by step guide, part four: The Bee Square

For this square I used a pale yellow lining fabric, this brings a different texture to the mat, as it’s smooth. Adding to that, the strips of the soft loop side velcro give it another dimention.

For this square you’ll need:

One of the fabric squares prepared in part one (a lighter one is better to show up the black stitching.)

Two short strips of the loop/soft side of sew-on velcro (about 2” long)

Black thread

Square of felt in similar colour to the fabric (optional depending on the thickness of the top fabric, mine was thin and I didn’t want it to pull as I sewed it)


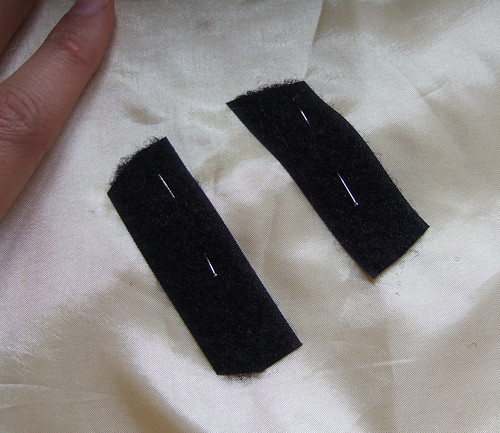
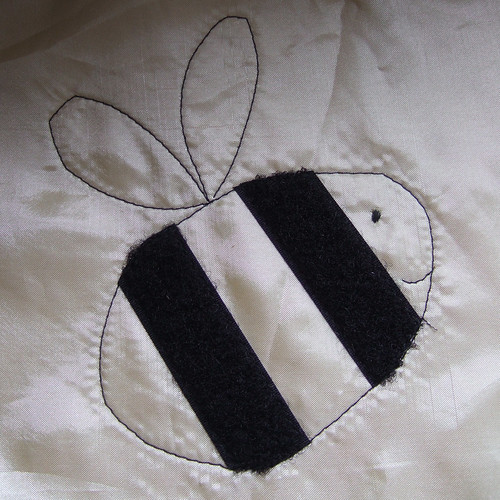
I started by placing some yellow felt under my fabric (to stop the machine from pulling the thin fabric), then positioning my two strips of velcro about ¾ of an inch apart in the centre of the square and pinning them, catching the felt in the pins as well.

I put them at a slight angle, so eventually it would look like he bee was flying upwards. You can see from the photo that I curved the corners of the velcro to fit the shape of the bee.

pinned on stripes

Next sew on the velcro using black thread and pull the threads through to the back after, knotting them together.

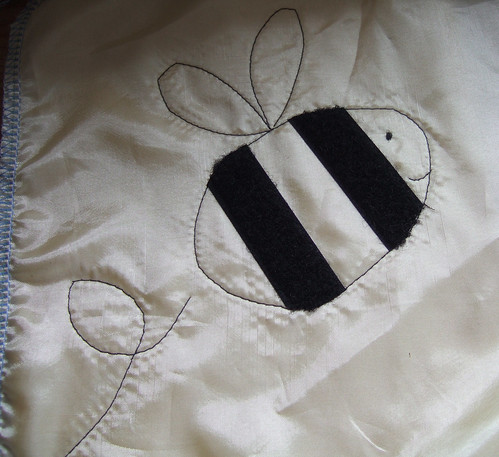
Next with straight stitch sew an egg/oval shape around the two velcro stripes, making sure the stitch line touches the tops and bottom edges of the velcro. The smaller end of the egg shape should be where you intend the face to be. Then stitch on the smile at the smaller end, and two petal shapes for the wings on the top – see picture below

Once again I used back embroidery thread to create the bee’s eye.


bee1sewing on bee line

Next you can add a fly line, you’ll need to keep your machine going quite slow to keep any loop-the-loops tight.

sewing on fly line

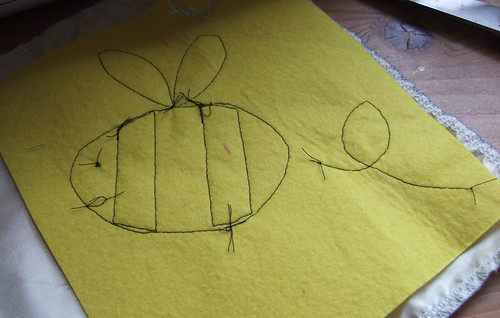
Tie off all the threads at the back.

bee square back


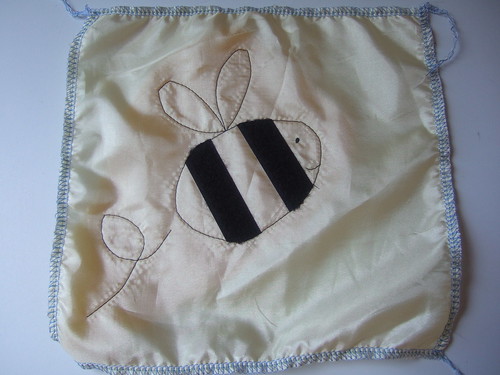
And there you have it, your third square – a cute bee with a combination of textures to stimulate your baby's senses!

bee square

In part five I’ll take you through the ‘pocket’ square.
Back to parts one & two can be found here.
Back to part three.
On to part five