
For this square you will need:
One of your fabric squares prepared in step one
A length of cord
Thread that matches the cord and a needle.
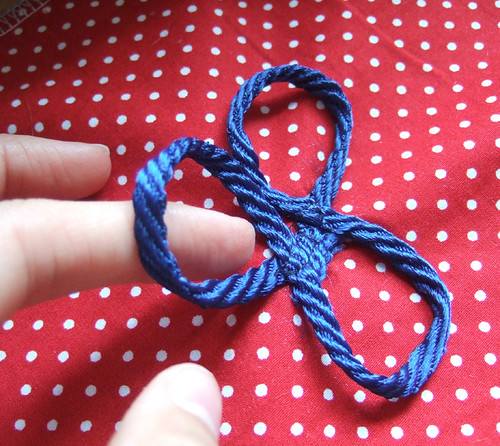
First manipulate the cord into whatever shape you’d like, making sure the ends are tucked away, I put mine into the centre of the flower, behind the criss-crossing cord. Then pin on to the centre of your square. For some reason I didn’t get a photo of this stage, but it’s fairly self-explanatory from the next picture.
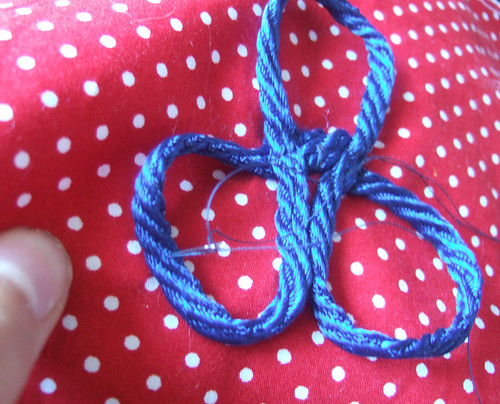
Next sew the piece on, just going over the centre of the shape, making sure you’re sewing those ends down, and going back and forth a couple of times on the machine to make certain it’s on tight.
As you can see the loops are then free from the backing fabric.
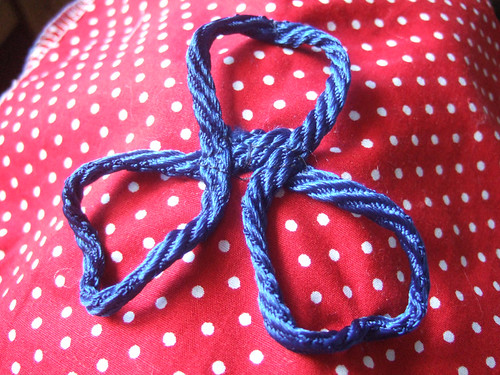
Next I decided it would be safer not to leave the loops completely free as tiny hands might get caught in them. So at the top of each petal I hand stitched the peak of it down, just going over the same place a few times and knotting it at the back, see below:
As you can see, this can still be grabbed and fiddled with, but shoudn’t get hands trapped in it.
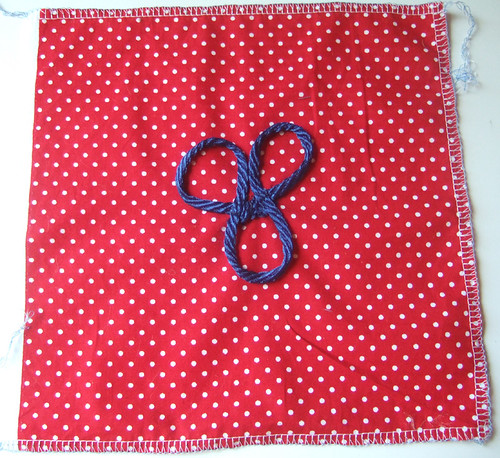
And there you have it, the finished square. Only two more to go now, the bird square is up next : )
Back to step seven
No comments:
Post a Comment