
So for this square you will need:
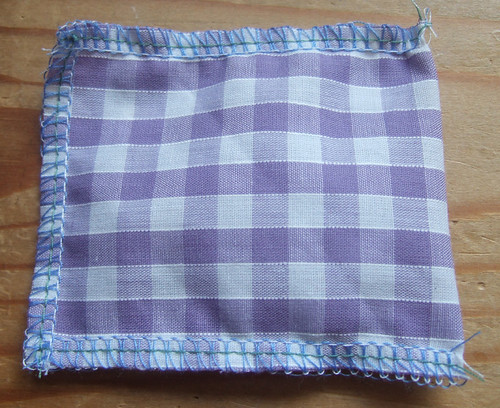
A fabric square prepared in part one.
A large fabric animal/bird of your choice cut out – you could also make an animal up using pieces of felt or other fabric.
A toy squeaker
Thread to match the animal design
A piece of fabric for the squeaker pouch (long and rectangular, depending on the size of squeaker you have)
First cut out your animal picture and pin on to your square.
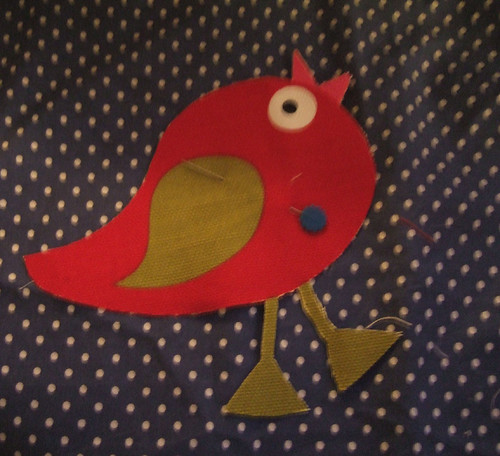
Using zig-zag stitch and a thread that goes with your creature, stitch the animal on to the square, making sure you go around all the fiddley bits. Use a tight stitch to prevent fraying. Pull off any loose threads.
Putting a squeaker in this square was an after-thought, so I had to do it the way I’ve described, however I think it works well, as the animal doesn’t bulge out and get distorted as it might have by having the squeaker sewn directly under the bird.
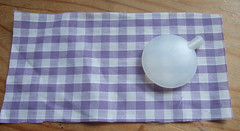
So I took my squeaker and placed it on a rectangle of fabric, that could comfortably fold over and have seam allowance.
 | 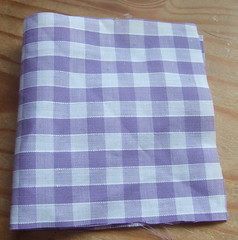 |
Next I used the overlocker/serger to sew it together around the three sides (the forth being folded didn’t need sewing) You could do this on the sewing machine also.
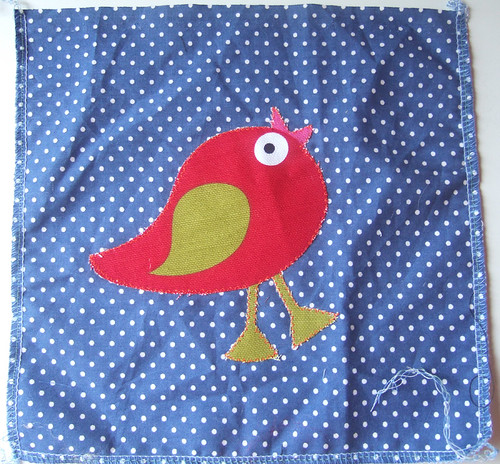
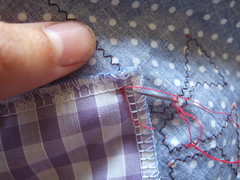
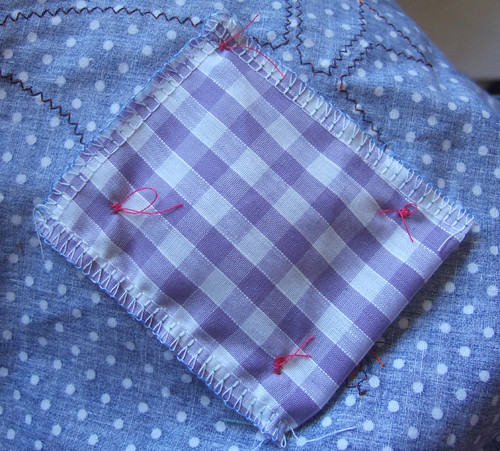
Next I positioned the pouch on the wrong side of the square, trying to make sure all the corners were under the red part of the bird as I figured the stitching would be less likely to be seen on the red.
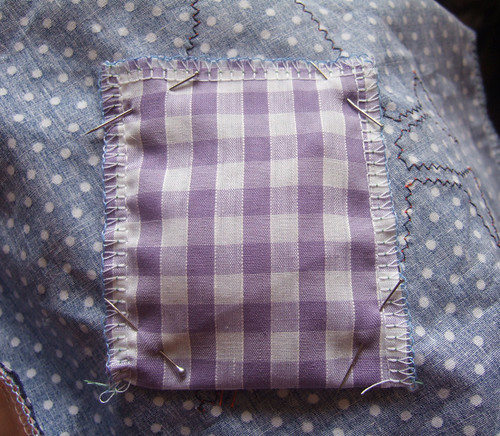
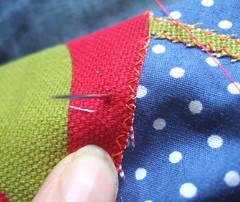
Then carefully hand stitch each corner on, being careful to keep your thread only on the area that matches it. I used red thread, so I had to avoid the green areas.
 |  |
Now your creature should squeak when pushed! And that is the bird square. Next time is the last square before we get on to putting the mat together.
Back to part eight
No comments:
Post a Comment