Play-mat Part One: Getting Started
One of my best friends is about to have a baby boy, I think I mentioned that in my last post, but it's been a while since that post... anyway I wanted to make her something for him. I was a bit worried about whatever I made being 'baby safe', so I talked to her first and as it turned out, she's making a lot of things for him too and would prefer to have home made things for him. So after some thought I settled on a playmat.... I figured I could make this pretty safe.
I thought I'd give a step by step guide on how I made this. This post will include parts one and two to start you off. I shall post part three later today.
So to start with you’re going to need a few things to make your play mat. The most basic of these is the fabrics, you’ll need
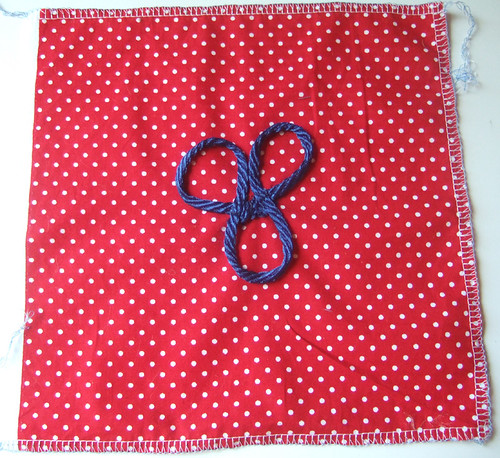
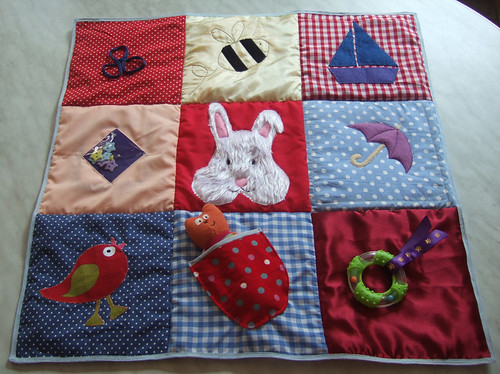
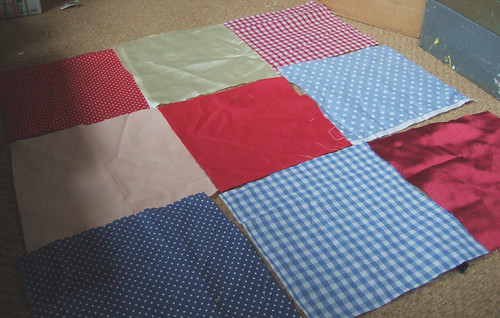
nine 9 inch by 9 inch fabric squares to make up your mat, with mine I tried to choose various patterns and textures, but tried to keep it so the colours work together– although that is not essential.
Bright colours and textures stimulate babies, so it’s good to keep this in mind. Saying that this is something you can make using scraps from your fabric stash, which is what I did and unless you want to, you don’t have to go out and buy anything fancy for it, unless of course you want to!
You’ll also need a large piece of fabric for the
backing material 24” by 24” and a piece of
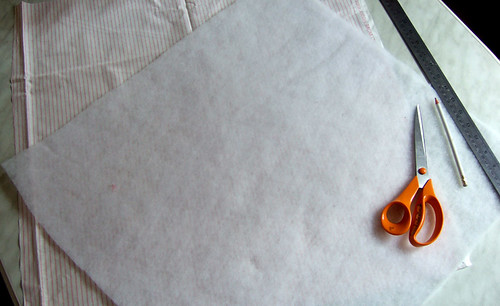
wadding just a little smaller than this.
Here’s a list of other things that I used:
Sisscors
Thread
Ruler
Pencil
8 by 8 square piece of paper (as a template for the squares)
Pins
Needle
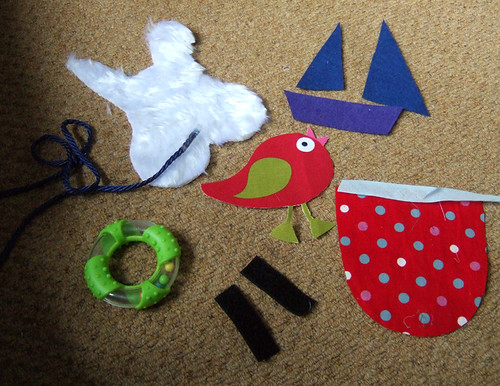
Coloured felt
Fake fur
Other bits of fabric
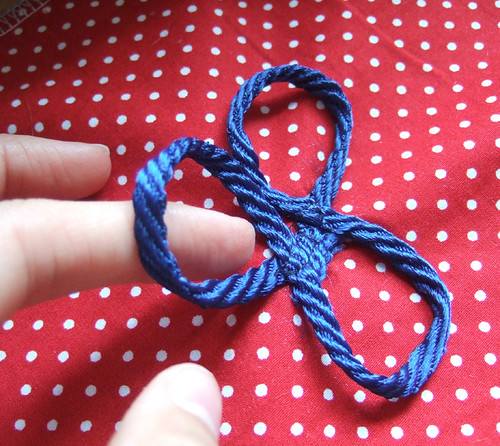
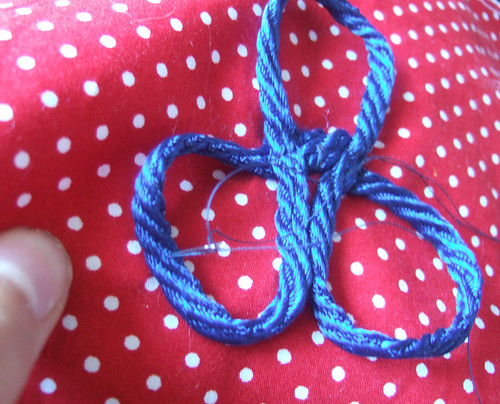
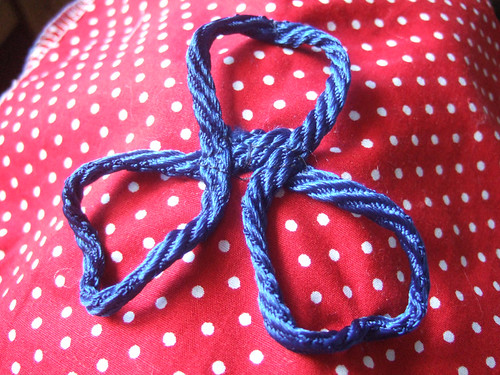
Cord
Buttons and beads
Bias binding
A plastic bag
Small piece of clear pvc
The soft side of some sew-on velcro
Toy squeaker
Teething ring
Small soft toy
Some of my bits, cut out and ready to use:
Backing fabric and wadding, My backing fabric is fairly hard wearing thick cotton.
Depending on what you do with each of your squares you might use other bits and pieces.
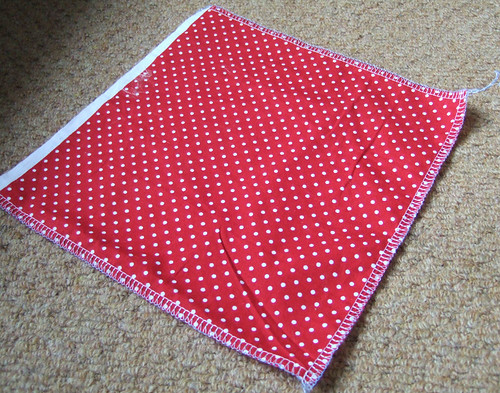
Once you’ve chosen your nine fabrics for the squares cut a 9" by 9" square out of each. I drew around an 8 by 8 inch paper square to give me the seam line and then added half an inch seam allowance all the way around.
Once cut out, over-lock/serge or zig-zag stitch all of the edges of each square, and the backing fabric.
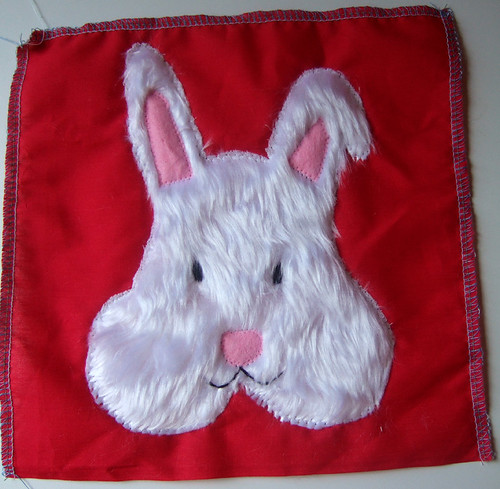
Then decide what order your squares are going to go in, this might change, as it did in my case, but I found it good to have a rough idea. I knew I wanted to put a furry bunny in the middle of mine as my friends are bunny people and I knew it would probably be the most striking of the squares, I also wanted a plain colour for the background, so I went with red.
I’m going to take you through each of my squares one by one in detail, but obviously you can come up with your own squares : )
Play Mat Part Two: The bunny square.
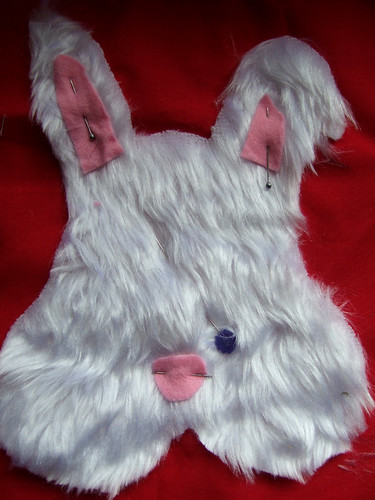
I picked the plain bright red fabric for my centre square, I thought the white bunny would stand out well on it. Next I drew myself a bunny face template.
Using your template cut the shape out of the fur fabric.
Next, pin the bunny head to the fabric square, making sure it doesn’t over lap the seam allowance. Below the fur bunny and the felt ears and nose are pinned on.
Using a fairly tight zig-zag stitch sew all the way around the outside of the bunny head.
Pull the top threads through to the wrong side of the fabric, by tugging on the under threads, and tie the threads together, this means the stitching is less likely to come undone.
So as not to keep repeating myself, although I'm sure it will happen, I did this with every item I sewed on.
Next cut out a nose shape, and the inside of the ears, in pink felt and sew them on in the same way as the head was.
For the eyes I used black embroidery thread, using several long stitches close to each other. Embroidery thread takes less time to fill up the eye sized space, and I like the satin finish, but you could use normal thread and just go over the stitching a few more times.
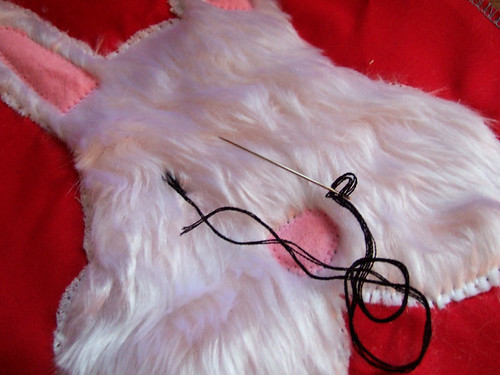
Then trim the fur around the eyes and nose if it’s trying to cover them.
If you like, you could put a toy squeaker under the rabbit head – this should be done when you’re pinning the fur on. (The process of making this was quite organic and it only occured to me part way through to use squeakers, which you'll see later when it came to making the 'bird' square).
The finished Bunny square:
So that’s one square down! Next up in
part three - the ‘crinkle’ square