
On most playmats, there’s that square that makes a rustling noise when you touch it.
For this square, you’ll need:
One of your 9” by 9” fabric squares, cut out in part one
An 8” by 8” square of felt
One or two plastic bags, folded up
Thread
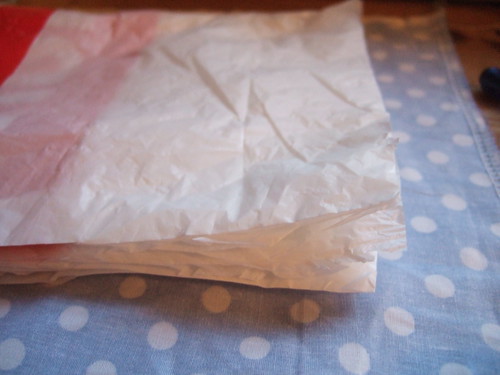
Start by taking your wadge of plastic bags, holding the layers together, cut out a rough square, approximately 7.5” squared. It doesn’t need to be that accurate, so long as it’s smaller than your square of felt. Lie the layred plastic squares in the centre of your fabric square.
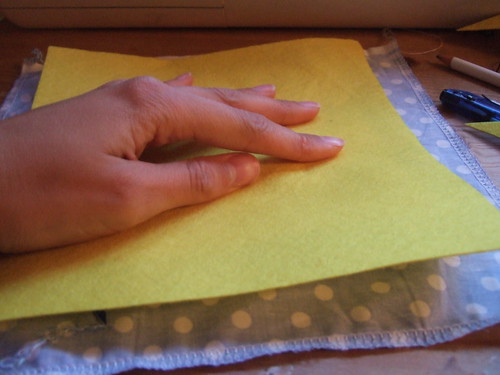
Place your piece of felt on top of the plastic, sandwiching it between the felt and the fabric and pin into place.
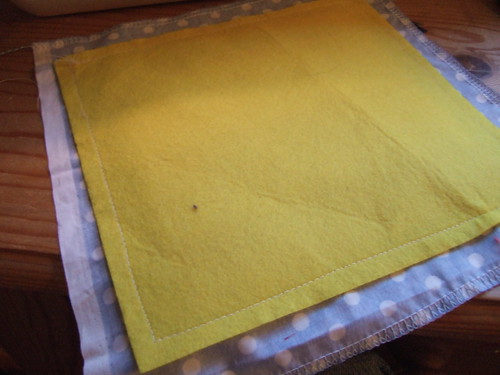
Using a straight stitch, sew the felt to the fabric. I avoided catching the plastic with my machine, as I feared it might blunt it.
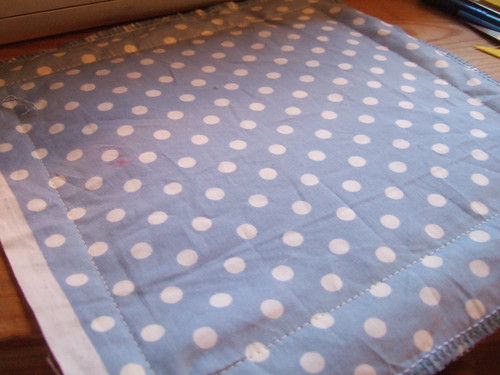
Pull the threads through to the back and fasten securely.
I did wonder after if I should have screwed the plastic bags up rather than folded them, to get more noise out of them, but I figured that might not be as comfortable for the baby to lie on, so I stuck with how I did it.
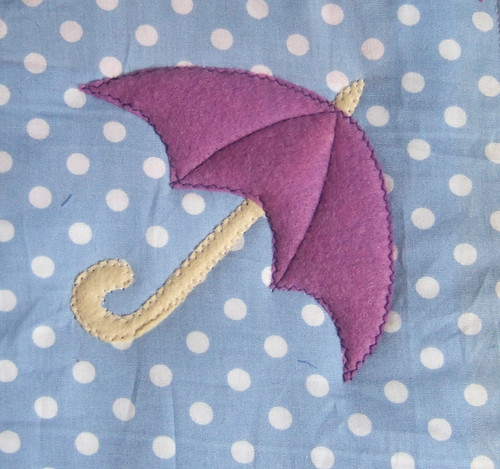
When the top part of the mat was done, I thought this square looked a little plain compared to the rest, so I decided to add a little felt umbrella:
First I cut out two simple shapes out of felt.
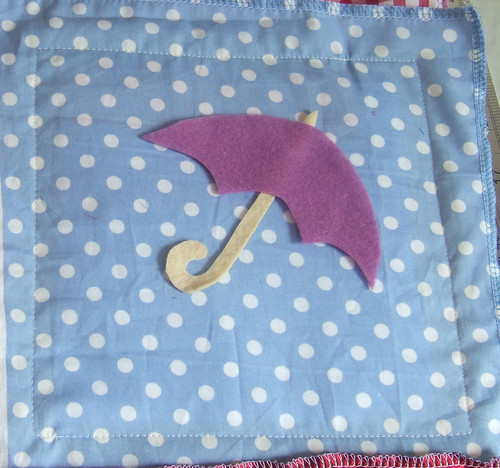
Then I used zig-zag stitch to sew on the handle. I placed the brolly part over the sewn-on handle and zig-zagged around that. I used straight stitch to mark out the umbrella sections.
And there you have it, the crinkle square! In part four I’ll take you through how I did the Bumble Bee square.
No comments:
Post a Comment