
For this square you’ll need:
One of the fabric squares prepared in part one (a lighter one is better to show up the black stitching.)
Two short strips of the loop/soft side of sew-on velcro (about 2” long)
Black thread
Square of felt in similar colour to the fabric (optional depending on the thickness of the top fabric, mine was thin and I didn’t want it to pull as I sewed it)
I started by placing some yellow felt under my fabric (to stop the machine from pulling the thin fabric), then positioning my two strips of velcro about ¾ of an inch apart in the centre of the square and pinning them, catching the felt in the pins as well.
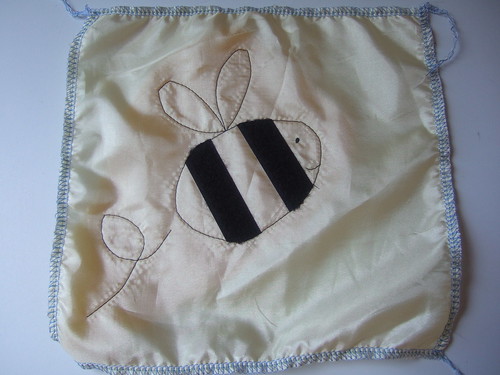
I put them at a slight angle, so eventually it would look like he bee was flying upwards. You can see from the photo that I curved the corners of the velcro to fit the shape of the bee.
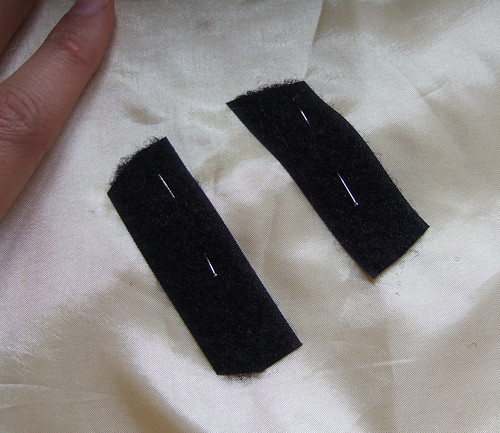
Next sew on the velcro using black thread and pull the threads through to the back after, knotting them together.
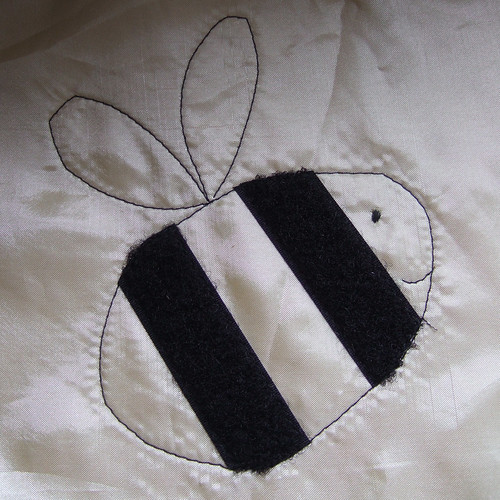
Next with straight stitch sew an egg/oval shape around the two velcro stripes, making sure the stitch line touches the tops and bottom edges of the velcro. The smaller end of the egg shape should be where you intend the face to be. Then stitch on the smile at the smaller end, and two petal shapes for the wings on the top – see picture below
Once again I used back embroidery thread to create the bee’s eye.
Next you can add a fly line, you’ll need to keep your machine going quite slow to keep any loop-the-loops tight.
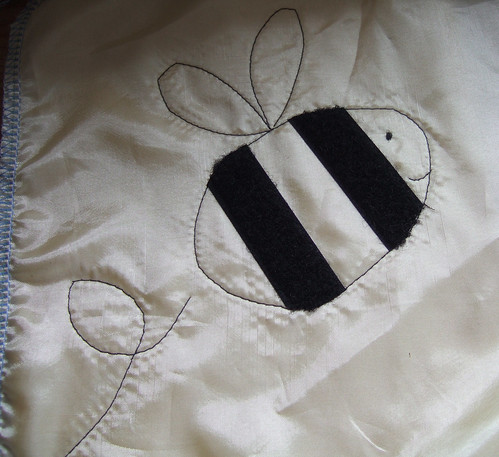
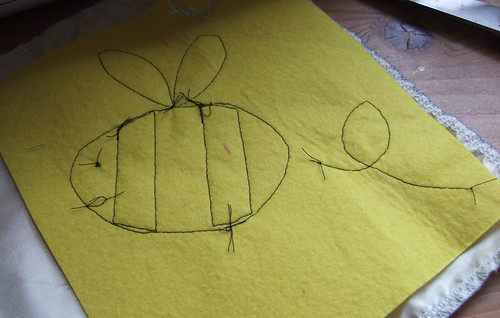
Tie off all the threads at the back.
And there you have it, your third square – a cute bee with a combination of textures to stimulate your baby's senses!
In part five I’ll take you through the ‘pocket’ square.
Back to parts one & two can be found here.
Back to part three.
On to part five
No comments:
Post a Comment