
For this square you will need:
A fabric square prepared in part one.
A contrasting fabric for the pocket
Some bias binding
Thread matching the pocket fabric
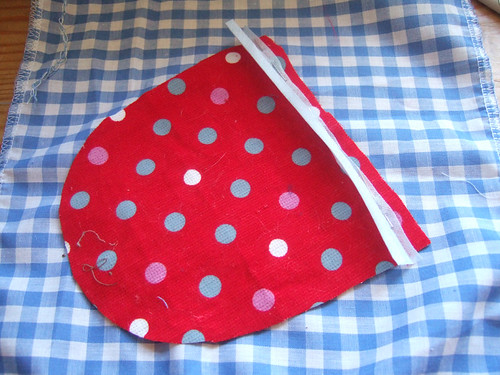
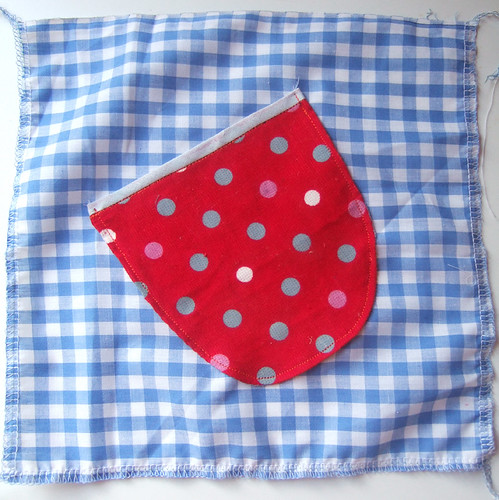
First cut out your pocket shape, I chose to have mine curved at the bottom, with a straight top, but you could have square one or completely circular, whatever you want.
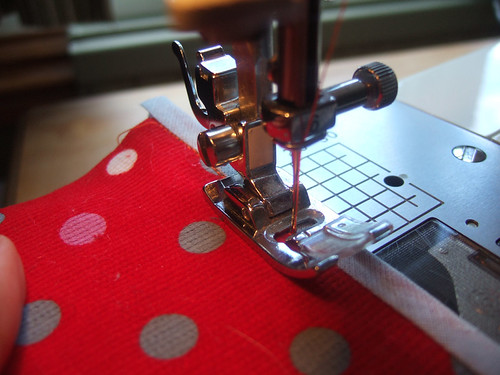
Next take your strip of bias binding and open one of the folded edges out. Pin the binding along the top of your pocket along the fold line of the bias binding, pictured below.
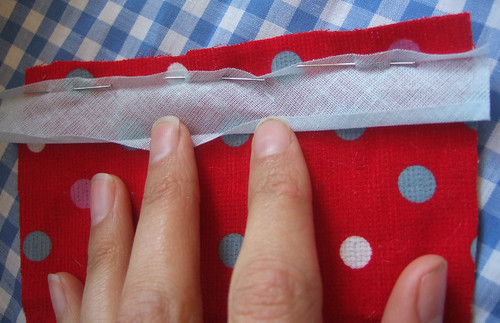
Then sew along this line.
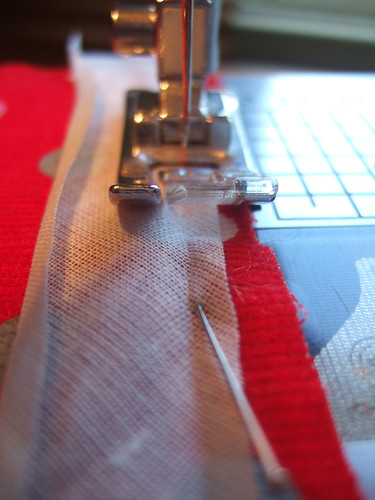
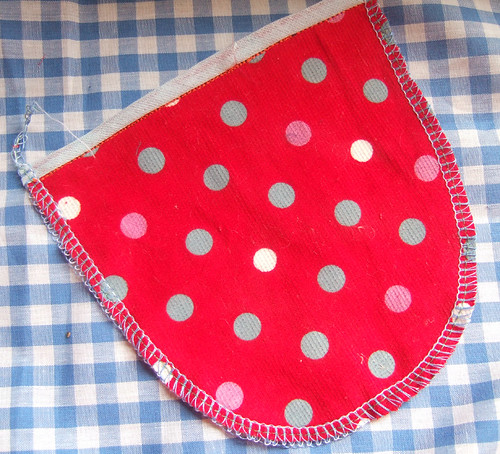
Next fold the binding over, not quite in half, there should be slightly more on the wrong side of the pocket, pictured below, it might be necessary to trim the top of the pocket fabric a little if not enough of the binding will fold over.
Pin this in place on the right side of the pocket. Then ‘ditch’ stitch along the edge of the binding i.e. sew in the ditch created by sewing the first part of the binding on, or as close as possible. Use a thread that matches the fabric of the pocket.
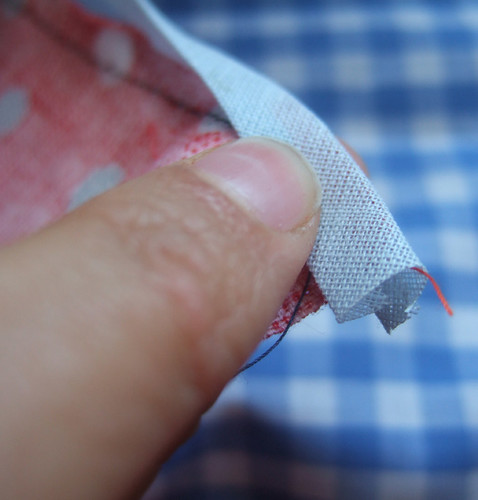
When you’ve finished, turn the pocket over to make sure you’ve caught the back side of the binding in the stitching. If you haven’t you’ll need to redo it, perhaps folding the binding further over.
Next overlock/serge or zig zag the edge of the pocket.
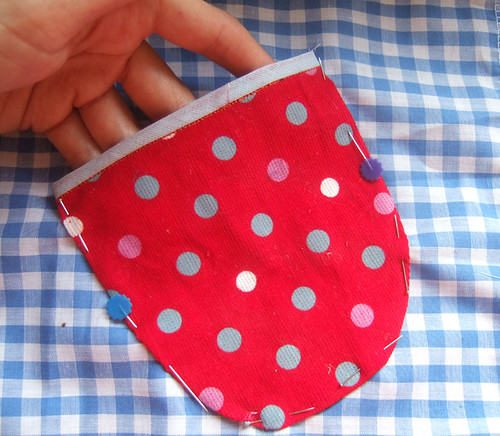
Then place the pocket onto the fabric square. I put mine on at an angle, but you can put it on straight or anyway you like. Fold over the overlocked/serged edge and pin to the backing fabric:
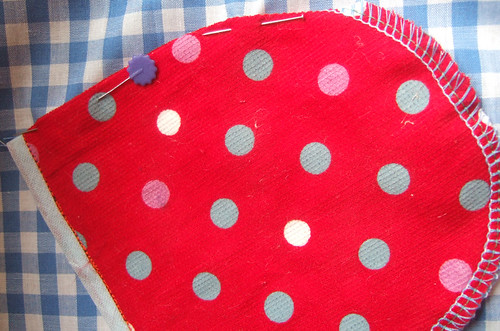
Carry on pinning all the way around, taking care not to pin it on too flat/tight, so you can get some fingers in – important if the pocket is to be useable.
Then sew on the pocket, using straight stitch.
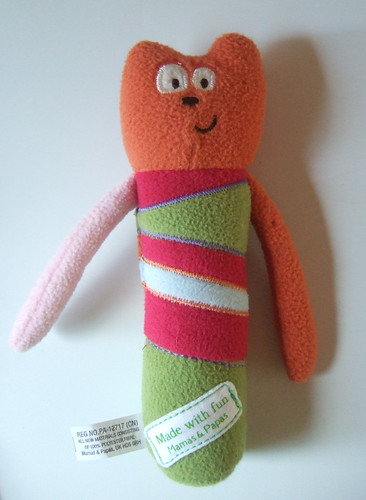
I didn’t find anything to go in the pocket until after I sewn the playmat together, eventually I stumbled across this cute squeaky toy in ‘Mamas and Papas’.
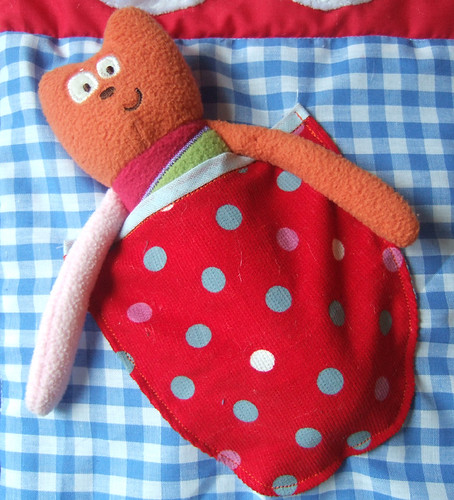
And here he is in place.
So that’s the pocket square! In step six I’ll be going through the ‘Boat’ square.
Back to part four.
On to part six.
No comments:
Post a Comment